


If you own the Lofaho Compact Tray Sealer 1181 or are thinking of purchasing one you may be thinking how does it work? And what do I need in order to work it? Is it a difficult task to take on?
Some good news is that sealing food is easy and can be done in under a minute. All you need to do is have your machine and trays ready to go, turn it on, place the trays in place and it’s ready to seal! We’ll go over in details below how to get started on sealing.
Let’s start with how to operate the Lofaho Compact Tray Sealer.

- Set up a cleared work area to place the Lofaho Compact Tray Sealer, trays, and food you’ll be sealing today. Don’t forget any utensils you’ll be using to portion out the food and some paper towels to remove any moisture from the trays before sealing, we’ll talk more about this later. Now you’re ready to power the machine on by pressing the power switch for 2 seconds. Wait until the power switch turns green and then you’re ready to go.

- Next we’ll need to open the lid. To do this simply press the PUSH button to have the lid open up. With the lid open you can see the components that make up the tray sealer. On the right side there’s the empty space to place your trays in. The edges of the tray space are surrounded by a rubber trim to keep the tray in place while it’s being sealed. Directly above the tray space is the heater the same size of the tray space. Once you close the lid the heater will come down and seal the edges of the tray. To the left you see the film cut cover and cutter.

- Place your tray inside the tray slot space. Make sure the edges of the tray are resting securely on top of the rubber trim. You can have your food already placed in the trays or start portioning it out now. The food level shouldn’t be higher than the edge of the tray, the seal might not be secure or food can spill out in the process.
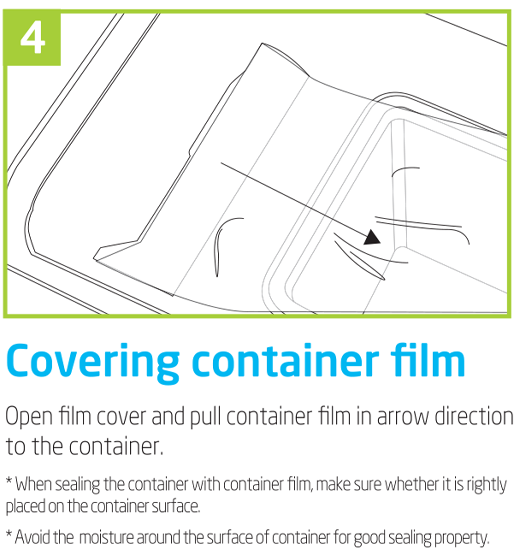
- Open up the film cover lid and pull the film to the right towards the container, cover the entire surface with a little film sticking out over the edge of the tray. Make sure there’s no moisture on the edges of the container for a secure seal. Use paper towels to wipe off moisture or any food stuck to the edges.

- Close the lid on the machine and press the PUSH button to seal. The power button will flash alternating red and green lights, and it will stop at red once the tray is sealed. This process will only take a few seconds.

- With the light glowing red your food is sealed in the tray! Open up the top once more by pressing the PUSH button. Now you will need to cut off the film to free your tray. Open the top cover of the film cover. Press down on the film cover with one hand to keep it from moving while it’s being trimmed. Cut off the excess film with the cutter by sliding it up and down, going over 3 times will be enough.
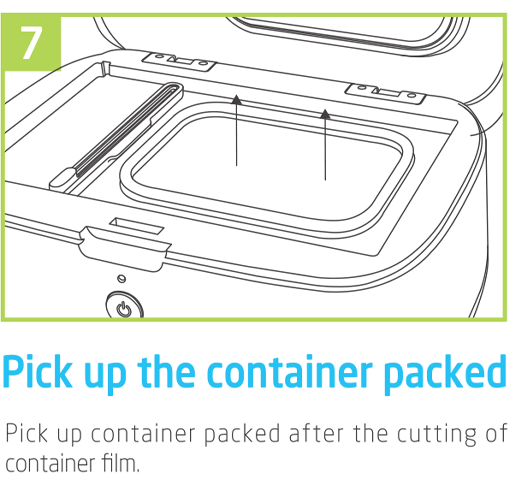
- Pick up the tray now that the foil has been trimmed off. Check to see that the plastic film is securely attached to the tray. Now your food is ready to be stored away and stay fresh until you’re ready to eat it! If you have more than one sealed tray you can safely stack the containers on top of one another to save space. The plastic film on top is strong enough to withstand the weight of other containers. Notice how much less space the sealed trays take up rather than other containers with lids on them!

- Once you’re done sealing all your trays power off the Lofaho Compact Tray Sealer. This is done by pressing the Power button for 2 seconds. The lights will turn off to show you the sealer is powered off.
Preserving your food takes very little time and is very simple to do. You will notice how much less food you are wasting by sealing it in and how much less space it will take up being stored in your refrigerator. If you haven’t purchased a Lofaho Compact Tray Sealer yet check out this link. You can also view the video below for a live action demonstration.


